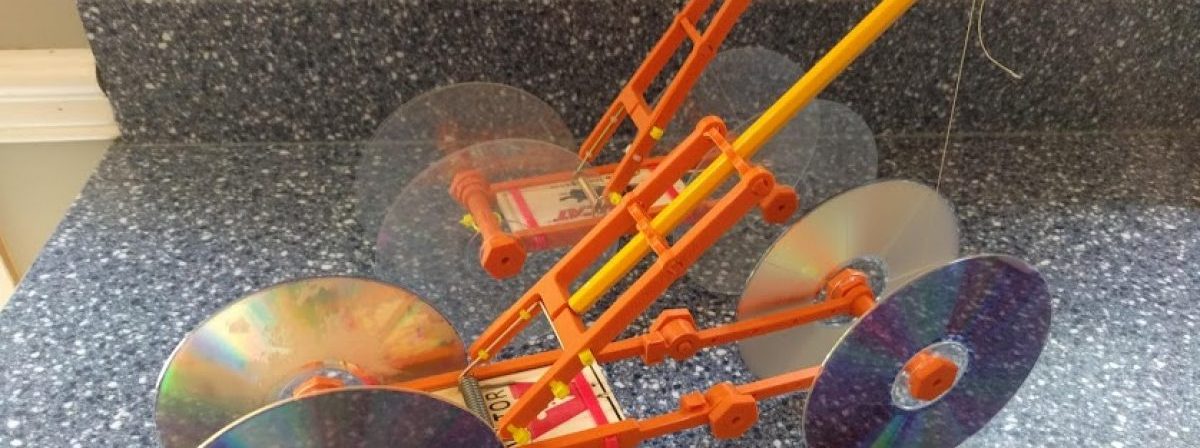
When studying physics or building DIY projects like mousetrap cars, friction is an important factor to consider. In this article, we’ll delve into the concept of friction between a CD (compact disc) wheel and a typical wooden gym floor.
What Is Friction?
Friction is the force resisting the relative motion of two surfaces sliding against each other. In this case, it’s the force that opposes the movement of the CD wheel when in contact with the wooden gym floor. The amount of friction depends on the nature of the two surfaces and the force pressing them together.
The Coefficient of Friction
To measure friction, we use something called the “coefficient of friction” (μ). This value describes how much frictional resistance one surface has in relation to another. It is a dimensionless scalar value; in other words, it doesn’t relate to any particular direction and has no unit of measurement.
There are two kinds of friction coefficients:
- Static friction (μs) is the friction that needs to be overcome to start moving.
- Kinetic friction (μk) is the friction experienced by a body in motion.
Static friction is generally greater than kinetic friction, as more force is required to initiate movement than to sustain it.
Estimating the Coefficient of Friction Between a CD Wheel and Wooden Floor
The coefficient of friction between two surfaces varies based on the materials. A CD, being made of polycarbonate plastic, and a wooden gym floor, presumably coated with a layer of varnish or polyurethane, will have a specific coefficient of friction.
You can estimate it experimentally through a simple procedure:
- Place the CD flat on the wooden floor.
- Gradually apply a horizontal force to the CD using a spring scale until the CD just begins to slide. This is the static friction force (Fs).
- Record the force required to keep the CD sliding at a steady speed. This is the kinetic friction force (Fk).
- If you know the weight of the CD (which is equal to its mass times the acceleration due to gravity), you can calculate the static and kinetic friction coefficients using the formulas μs = Fs/W and μk = Fk/W.
Remember, these measurements could vary depending on factors such as the smoothness of the CD and the wooden floor, the specific type of wood or varnish, and the presence of any dust or dirt.
Impact on a CD Wheel’s Performance
Reducing Friction Through CD Wheel Adjustments
If the friction between the CD wheel and the wooden gym floor is too high, there are several adjustments you can make directly to the CD wheel to decrease it, improving your mousetrap car’s performance.
- Tire Attachments: You can modify the CD wheel’s surface by adding a “tire” made of a material with a lower coefficient of friction against wood. An example of this is attaching a rubber band or a cut-out section of a balloon around the circumference of the CD. Rubber may provide a solid grip, while potentially offering a lower coefficient of friction with the wooden floor compared to the plastic CD.
- Wheel Surface Smoothening: Another option is to lightly sand the edges of the CD wheel to make it smoother. This could reduce the surface area in contact with the floor, thus reducing friction. However, take care not to overdo it, as you could end up damaging the CD or reducing its structural integrity.
- Lubrication: Applying a small amount of a suitable lubricant to the CD wheel can also reduce friction. Silicone-based lubricants are often a good choice because they don’t degrade plastic. Do keep in mind that while lubrication may reduce friction, it could also potentially make the wheel too slippery and cause loss of traction.
- Optimizing Wheel Alignment: Lastly, ensuring proper wheel alignment can decrease friction. If the wheels are misaligned, they may scrub against the floor, increasing friction. Use a straightedge or ruler to ensure the wheels are parallel to each other and perpendicular to the axle.
By implementing these adjustments, you can effectively reduce friction and improve the overall performance of your mousetrap car. As always, remember to carry out these modifications safely and consider the overall design of your car to ensure stability and efficiency.
